
Publishing Static Site On Vercel
Vercel is an incredibly easy to use tool which helps you build and ship your
websites with an easy to use interface. You can get started with a fresh
repository (step 1) or you can deploy your existing repository (step 2).
⚠️
You Lose Many Dynamic Features In Static Modes
`fastn` comes with a lot of dynamic features, which are only available when you
are using [fastn server](/server/) for hosting.
Step 1. Choosing the source of your deployment
Step 1.1. Start from scratch: New Repository
Use this [template](https://vercel.com/new/clone?repository-url=https://github.com/fifthtry/fastn-blog&template=other)
to initialize. Check out step 2 for the configuration setup.
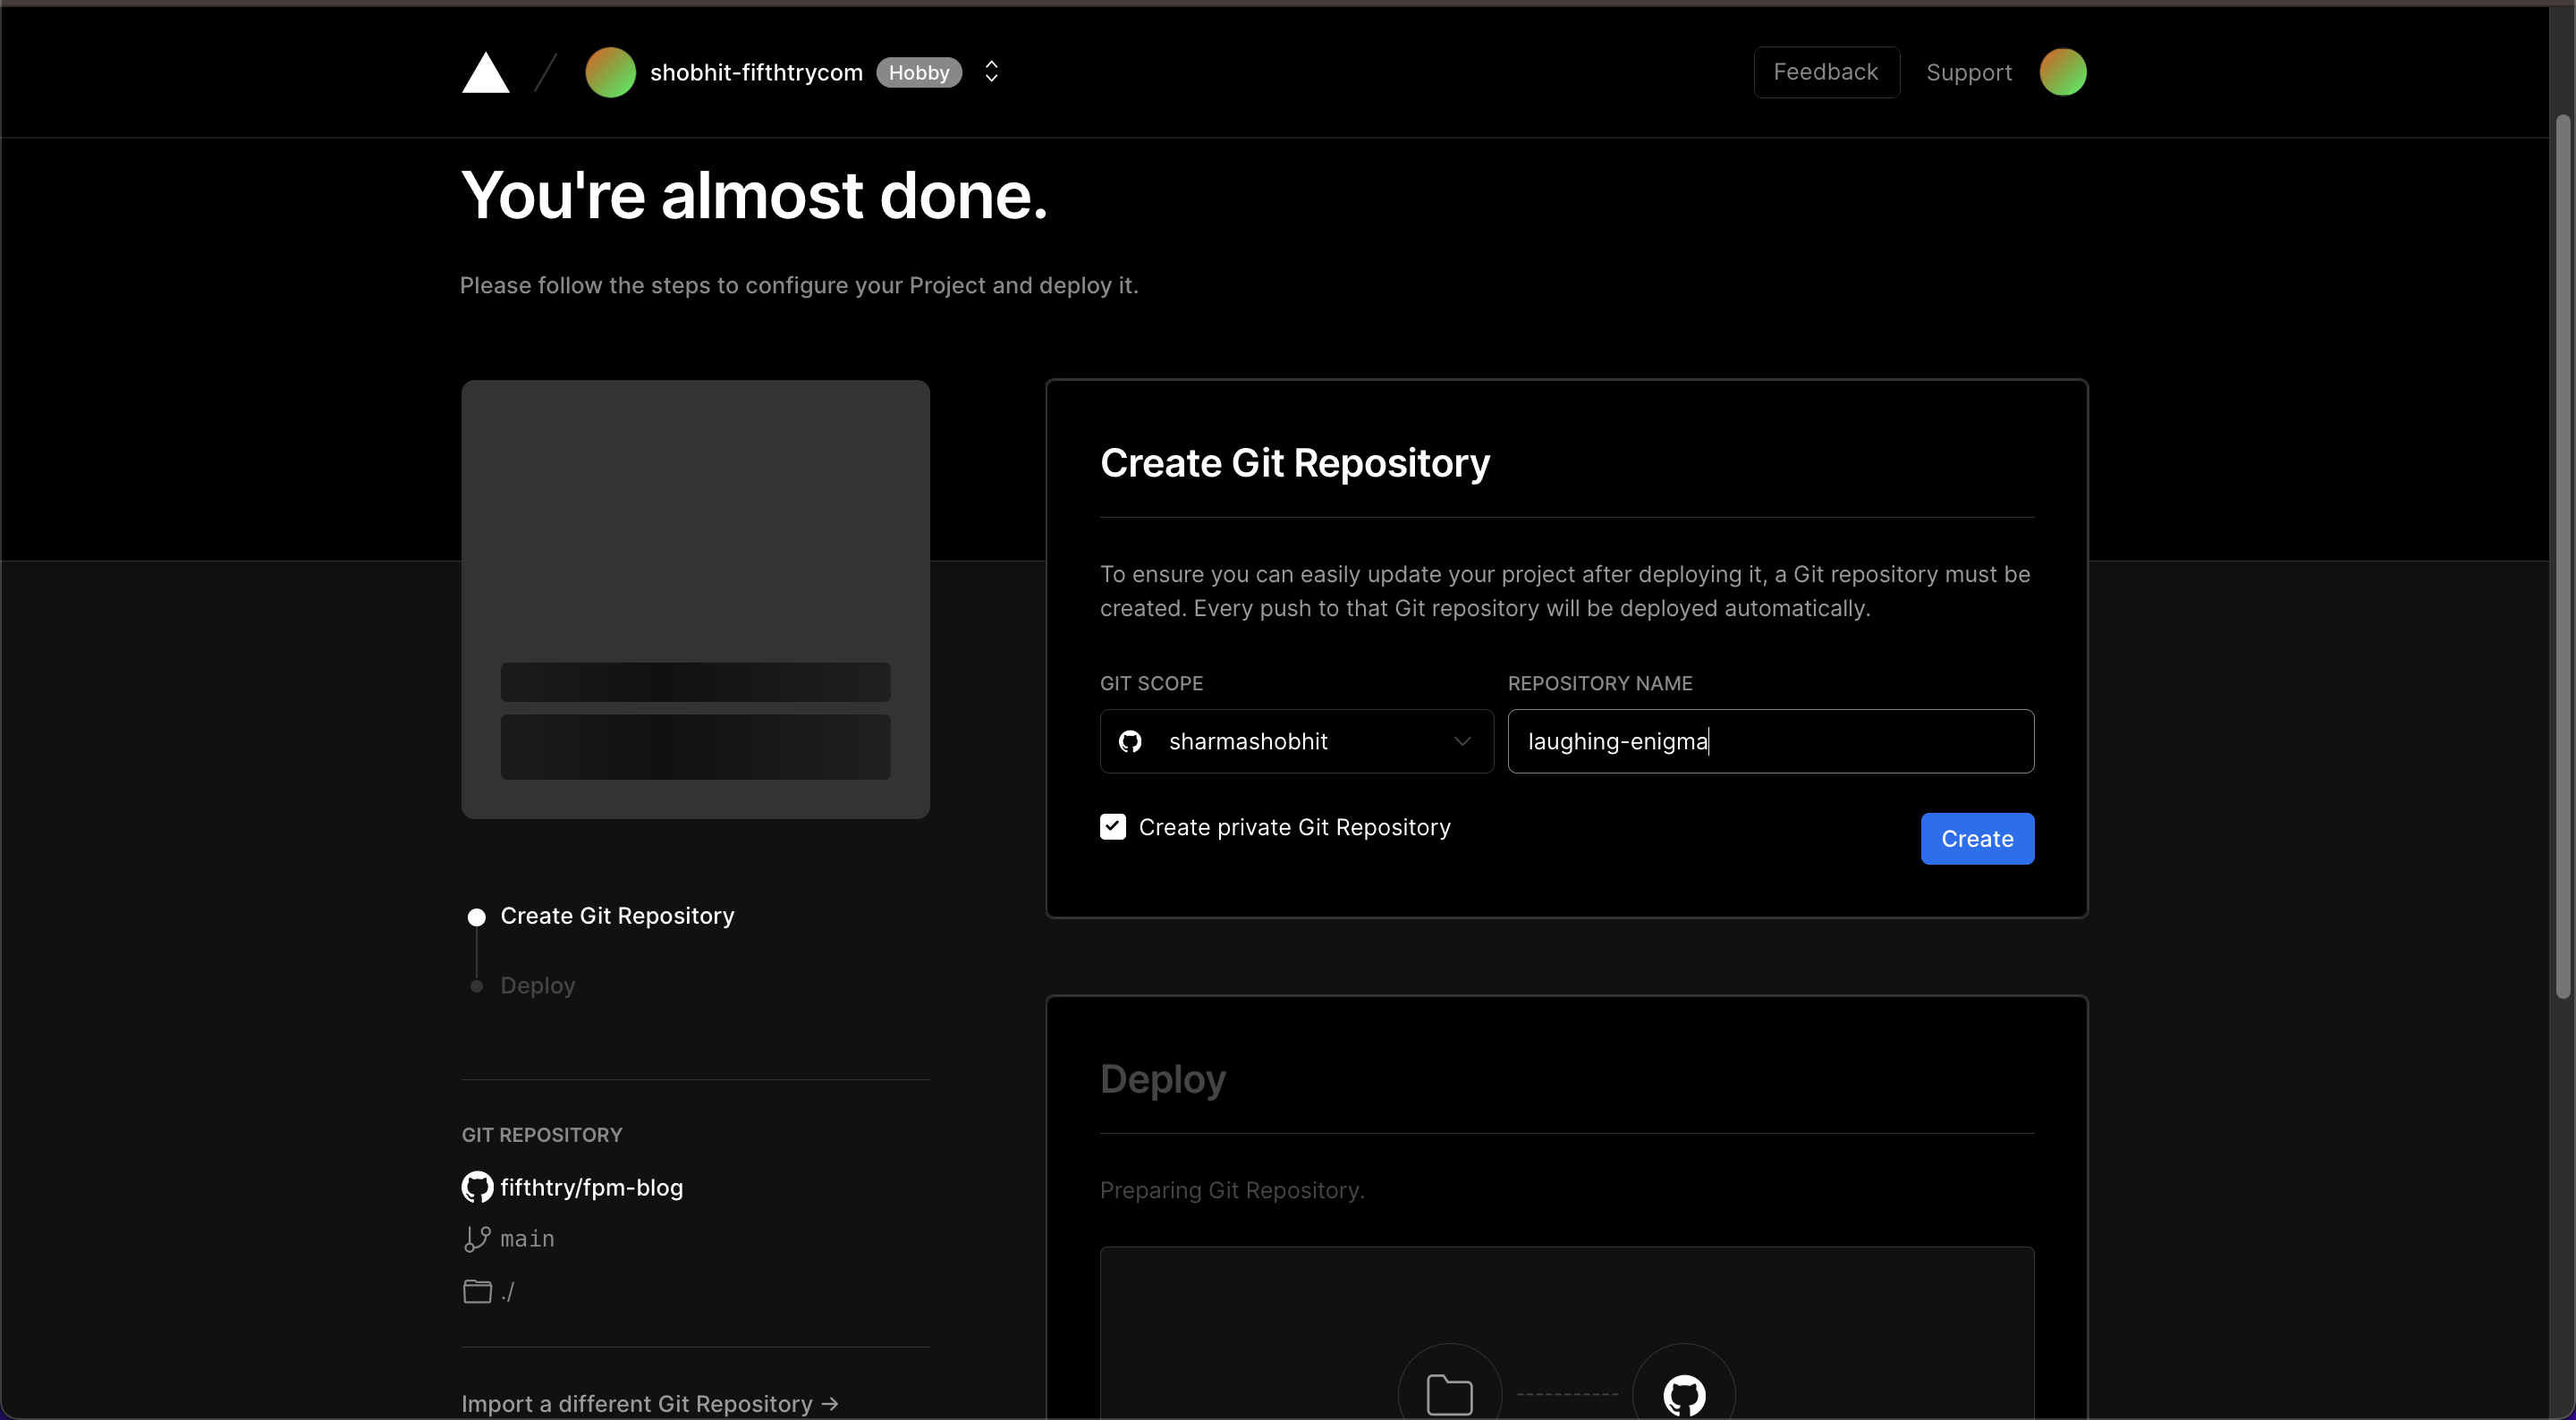
Just choose your repository name and click on the Create button
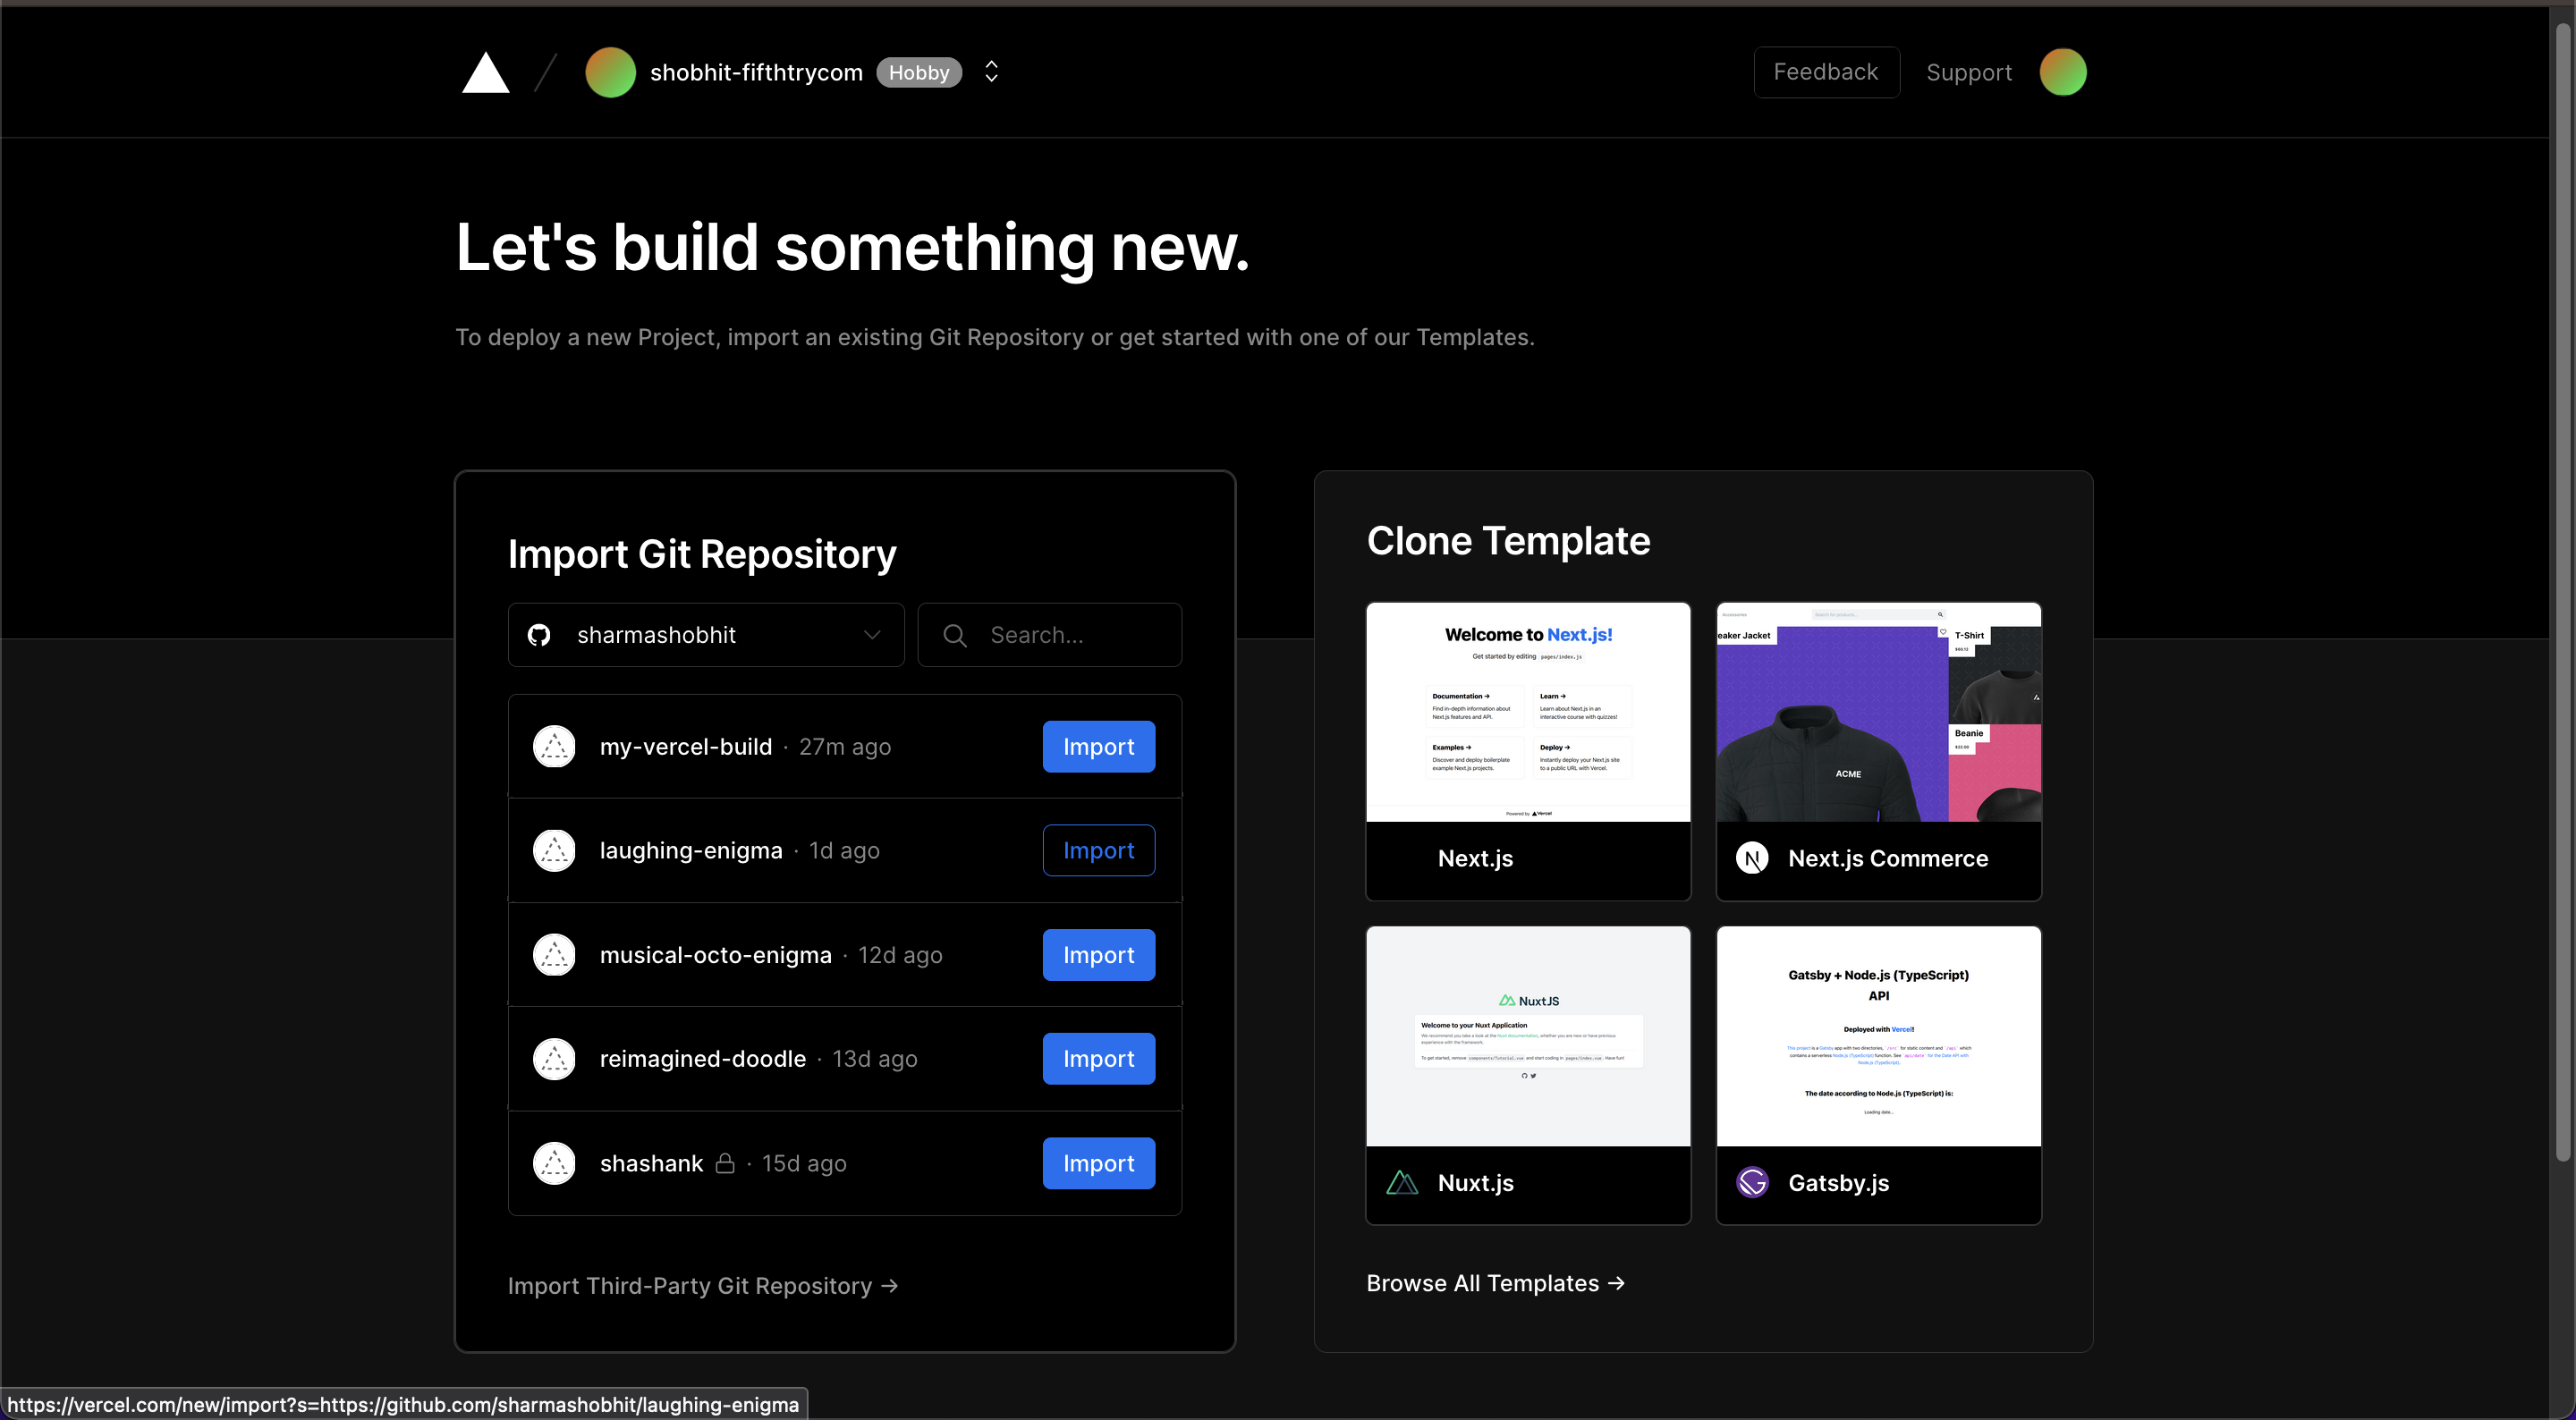
Step 1.2. Deploy an existing repository
Deploying an existing `fastn` repository on vercel is quite easy. On your vercel
dashboard, click on [New Project](https://vercel.com/new) and select your git
provider and the repository accordingly.
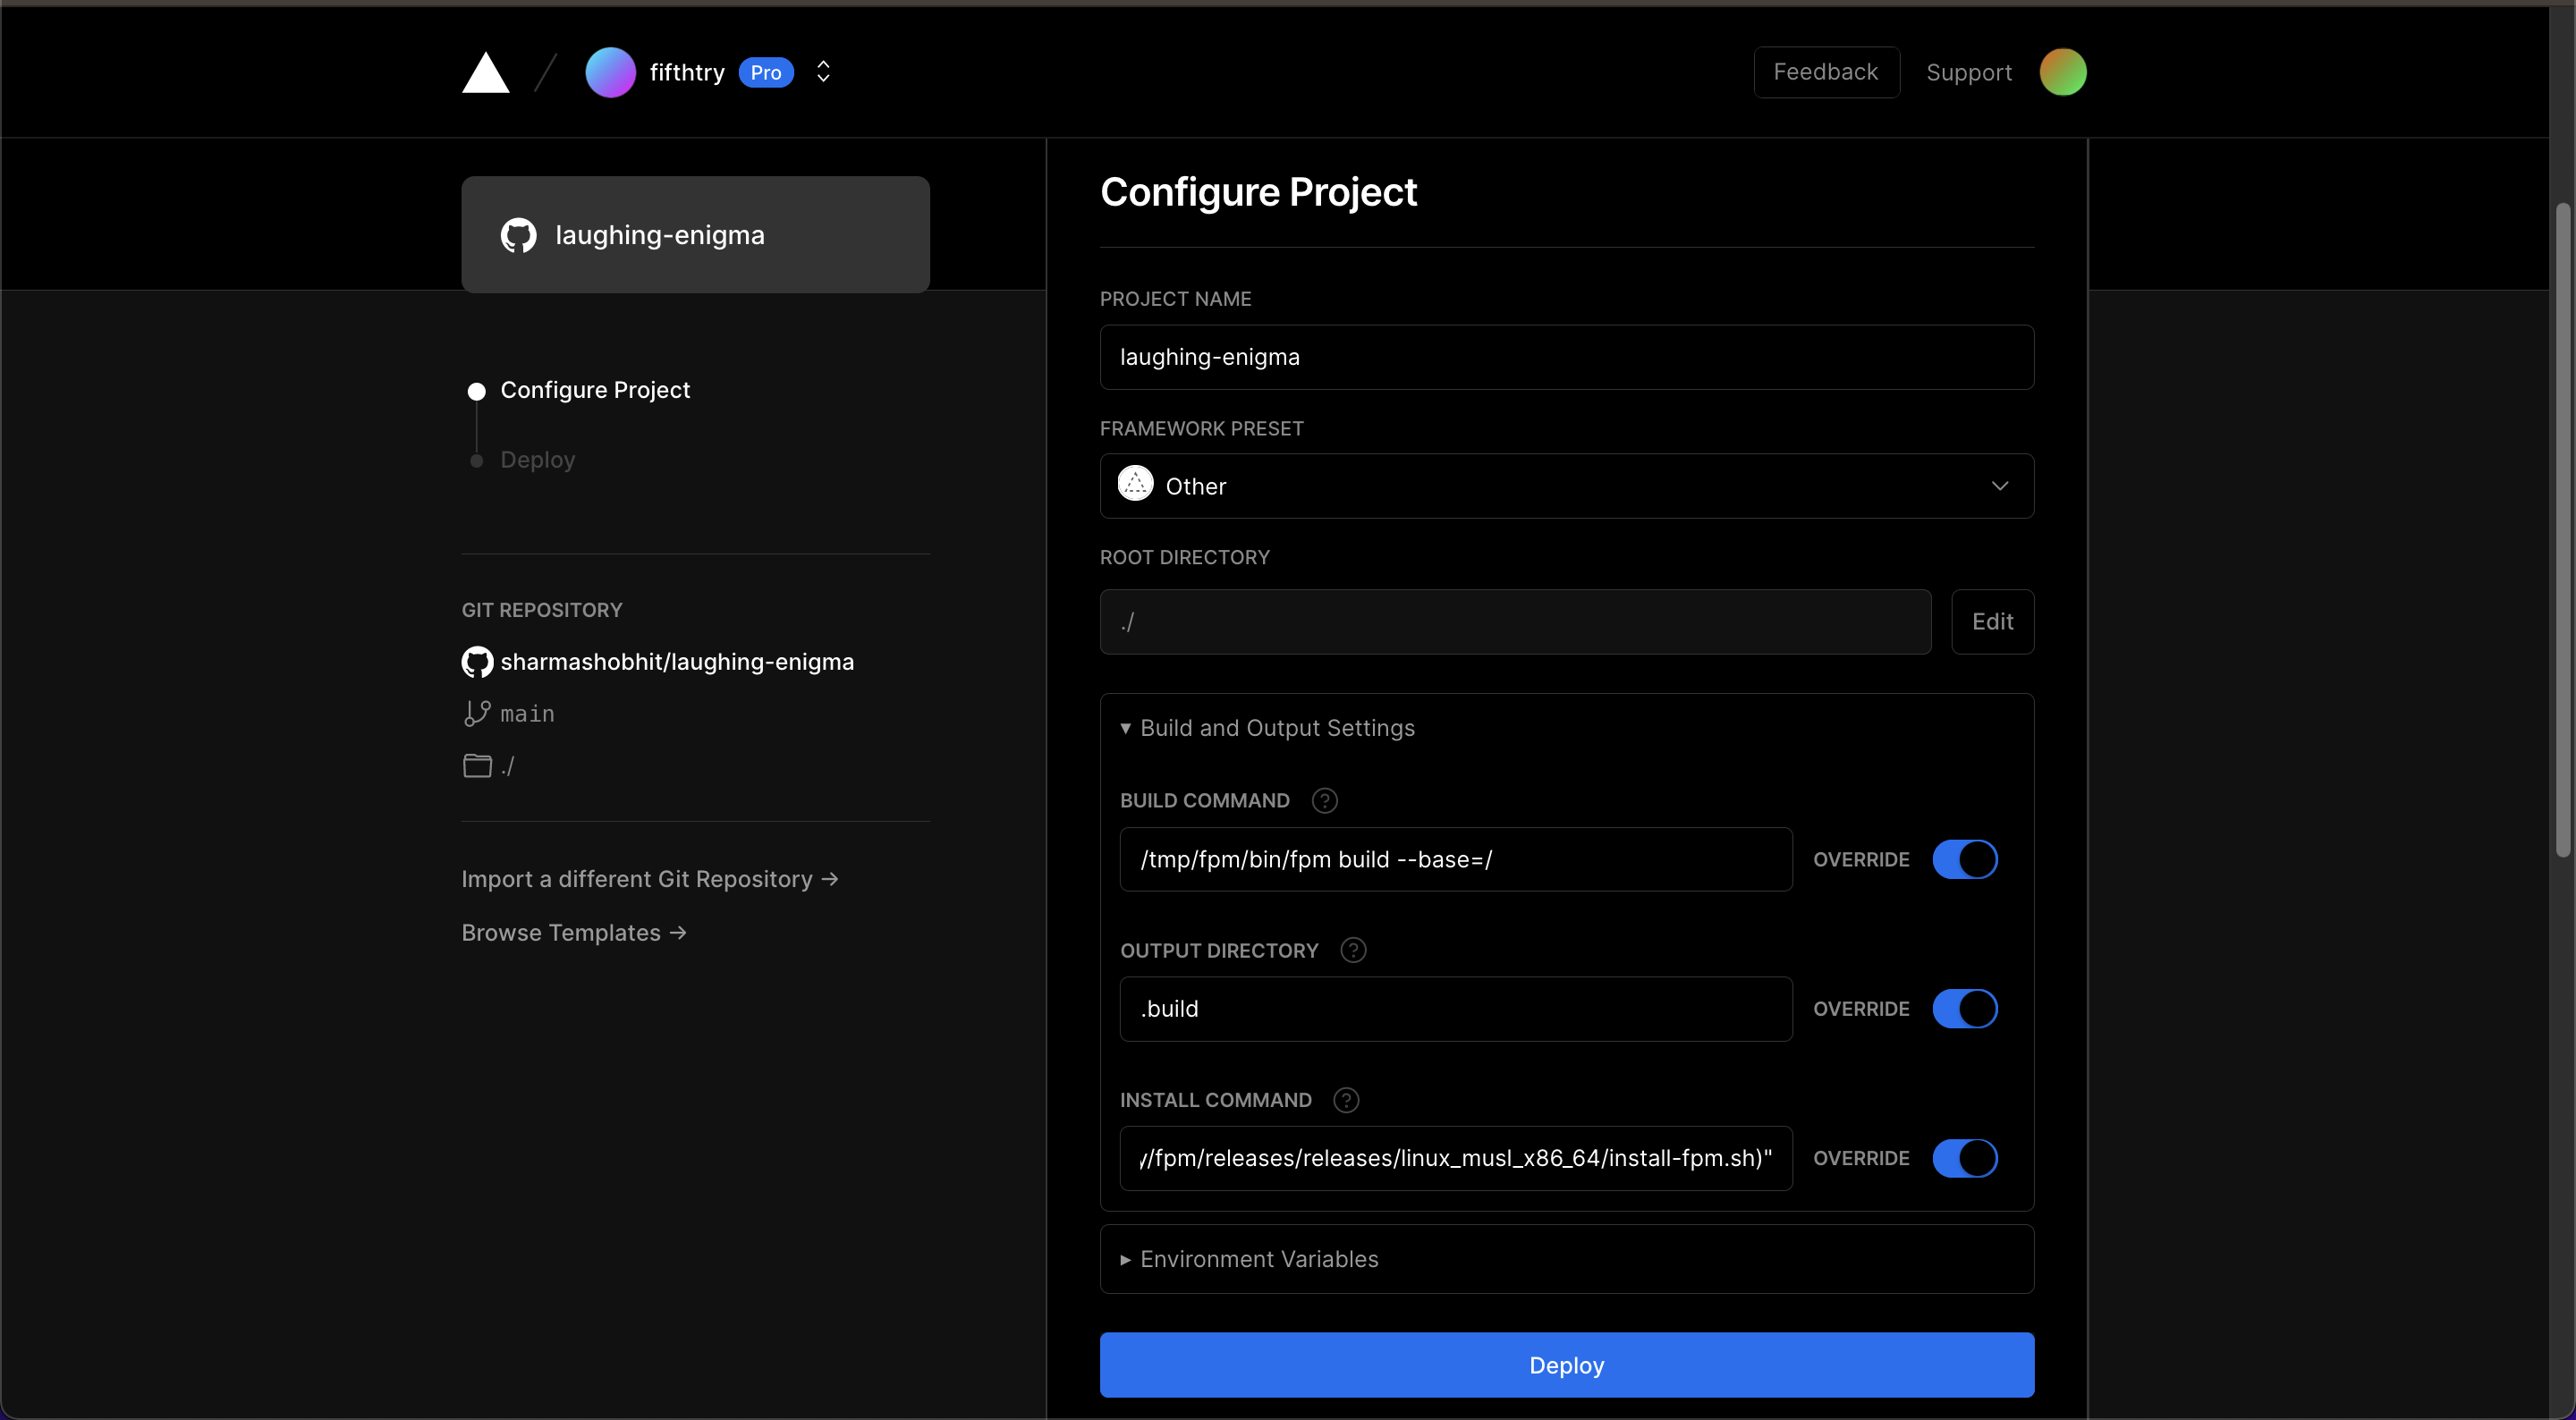
Once done, you'll be taken to the Configuration Dashboard of the application.
Select the `FRAMEWORK PRESET` as `Other` and enter the configuration mentioned
in Step 2.
Step 2. Vercel FASTN configuration
Once the application is up and ready, head over to Settings > General and enter
the following configuration in the __Build & Development Settings__
Build Command
fastn build --base=/
Lang:
sh
Output Directory
.build
Lang:
sh
Install Command
sh -c "$(curl -fsSL https://raw.githubusercontent.com/fastn-stack/fastn/main/install.sh)"
Lang:
sh
Congratulations, your FASTN package is now successfully hosted. You can head
over to the application dashboard to see your deployment domain(s).
Support `fastn`!
Enjoying `fastn`? Please consider giving us a star ⭐️ on
[GitHub](https://github.com/fastn-stack/fastn) to show your support!
[⭐️](https://github.com/fastn-stack/fastn)
Getting Help
Have a question or need help?
Visit our [GitHub Q&A discussion](https://github.com/fastn-stack/fastn/discussions/categories/q-a)
to get answers and subscribe to it to stay tuned.
Join our [Discord](https://discord.gg/a7eBUeutWD) channel and share your
thoughts, suggestion, question etc.
Connect with our [community](/community/)!
[💻️](/community/)
Found an issue?
If you find some issue, please visit our [GitHub
issues](https://github.com/fastn-stack/fastn/issues) to tell us about it.
Quick links:
- [Install `fastn`](install/)
- [Create `fastn` package](create-fastn-package/)
- [Expander Crash Course](expander/)
- [Syntax Highlighting in Sublime Text](/sublime/)
Join us
We welcome you to join our [Discord](https://discord.gg/a7eBUeutWD) community
today.
We are trying to create the language for human beings and we do not believe it
would be possible without your support. We would love to hear from you.


Copyright © 2023 - fastn.com


